
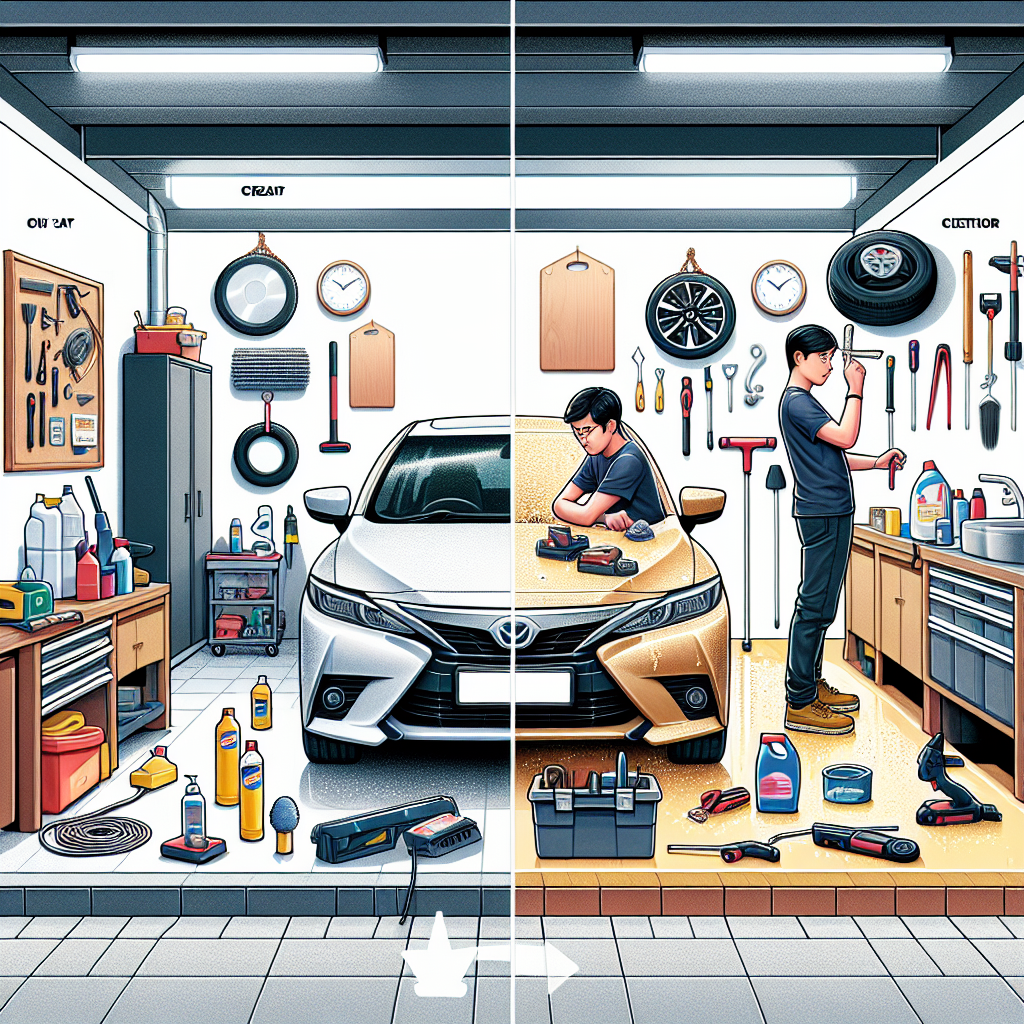
Step 1: Gather Your Supplies
Choose the Right Cleaning Products
Let’s be real—having the right cleaning products can make a world of difference. When I started out, I was tempted to buy the fancy stuff, but I quickly learned that you can get some amazing results with budget-friendly options. Look for multipurpose cleaners, pH-balanced soap, and simple wax products that don’t break the bank but still deliver great results.
Another tip is to go for biodegradable products whenever you can. Not only do they help you get that “showroom shine,” but it also feels good to do your part for the planet while you’re at it. I’ve got a soft spot for lemon-scented cleaners!
Don’t forget about tools like microfiber cloths and sponges. They are absolutely essential for avoiding scratches and ensuring that you’re getting a solid clean. Stocking up on these items will save you headaches down the line.
Invest in the Right Tools
When it comes to DIY car detailing, your tools can make or break your experience. I remember the first time I tried detailing my car with some old rags and a sponge—it was a disaster! So, I learned the value of having specific tools designed for this job. A quality vacuum, brushes with soft bristles, and even an orbital polisher can become your best friends.
Even if you’re on a budget, you can find great tool kits online or at local stores. Just do your research to ensure you’re getting the best bang for your buck. No one wants to waste money on flimsy products that don’t last!
And here’s a pro tip: keep your tools organized in a tote or bucket so when you’re ready to tackle your next detailing session, everything you need is right at your fingertips.
Plan Your Detailing Session
Outlining a game plan for your detailing day can really streamline the entire process. I find it super helpful to break it down into days or weeks, or even just sections of the car to tackle one at a time. Maybe you do the interior one weekend and the exterior the next. It helps keep the project manageable and fun.
Another thing I like to do is pick a time when the weather is cooperating. You definitely don’t want to be outside detailing in the pouring rain or during peak summer heat. Clear skies and mild temperatures make for the best detailing vibes!
Lastly, don’t forget to take your time. Rushing through it can lead to mistakes. Enjoy the process, put on some tunes, and make it a little pampering session for your ride!
Step 2: Exterior Cleaning
Washing Your Car
Let’s kick things off with the exterior! Washing your car is the first step to achieving that sparkling finish. I usually start with a rinse to loosen dirt and grime. Then, I apply my favorite car wash solution and scrub from top to bottom. It’s super important to use a dedicated wash mitt or sponge, as opposed to just a regular household item, to avoid scratching your paint.
And remember, don’t wash it in direct sunlight! I’ve learned the hard way—water spots are a real pain in the neck. Washing in the shade helps prevent that. An added bonus? Your suds will last longer!
After rinsing, I like to dry my car with a microfiber drying towel. This helps avoid those pesky water spots and gives that polished look that you’re aiming for. Trust me; the drying step is where you can catch those little missed spots before you move on to waxing.
Claying Your Car
If you’ve never tried using a clay bar, it’s time to elevate your detailing game. This step helps to remove contaminants that washing just won’t touch—think tree sap, industrial fallout, and the like. I wasn’t a believer at first, but after using it, I could feel the difference!
When you’re ready, lubricate the surface with a clay bar lubricant and gently rub the clay along the surface of the paint. You won’t believe how smooth it gets! Just remember to keep kneading the clay to expose a clean surface as it picks up grime. Your car will feel like glass under your fingertips.
Once you finish, be sure to give the car another rinse. It’s important; you don’t want any leftover clay residue hanging around!
Waxing and Polishing
Now for the fun part: waxing! Applying a good coat of wax not only makes your car shine but also adds a protective barrier against the elements. I typically use a foam applicator pad to spread the wax evenly. Start with the roof and work your way down, applying in a circular motion.
Let the wax set according to the product instructions—usually around 20-30 minutes is ideal. After that, buffing it off with a clean microfiber towel is pure joy! Finding that perfect shine feels like such a win.
If you’re really aiming for that professional finish, consider a polish afterwards. While waxing protects, polishing can help remove small scratches and imperfections, leaving your ride looking brand new. Just remember that less is more—over-polishing can wear down your clear coat.
Step 3: Interior Detailing
Vacuuming
Time to switch gears and tackle the inside of your car! First up—vacuuming. I find that a good vacuum session can transform your interior from dusty and grungy to clean and fresh. I like to start from the top and work my way down, getting between the seats and along crevices where dirt likes to hide.
Investing in some attachments can be a game-changer. A crevice tool will help you get into those tight spots where crumbs and dog hair usually accumulate. Trust me, as a pet owner, I’ve never been more grateful for this little detail!
Also, don’t forget to remove any floor mats and vacuum those separately. If you can, give them a good shake outside to get rid of pesky dust. It really makes a difference in your overall cleanliness!
Wiping Down Surfaces
After vacuuming, the fun continues with wiping down all the surfaces. Grab some all-purpose cleaner and start with the dashboard, console, and windows. I love the feeling of making everything sparkle—plus it’s satisfying to see all the gunk disappear!
Again, using microfiber cloths is super important. They don’t leave behind lint, which is crucial, especially on glass surfaces. I often keep a special cloth just for my windows. It just feels cleaner that way!
Don’t rush this step! Take the time to get into all those little nooks and crannies, including cup holders. I can’t tell you how many times I’ve found mysterious crumbs lurking in there!
Cleaning Seats and Carpets
Lastly, we’ve got the seats and carpets. Depending on your materials—fabric or leather—you’ll want different cleaning solutions. For fabric seats, a fabric cleaner does wonders. I spray it on, let it sit for a bit, and then scrub gently with a brush.

If you have leather seats, utilizing a leather cleaner followed by conditioner is key. This keeps the leather from cracking and looking worn out. Plus, who doesn’t love that new-car smell?
Lastly, don’t forget about the carpets! A good deep clean can revive the whole vibe of your car. After letting the cleaning solution sit for a while, giving them a thorough vacuum can really pull everything together. You’ll feel like you’re riding around in a brand-new car!
Step 4: Finishing Touches
Conditioning Plastic and Vinyl
Once everything is clean, it’s time to dress your plastic and vinyl surfaces. You don’t want them to fade or crack, so applying a conditioner can help preserve them. It also adds a nice sheen that gives your interior that polished look.
I usually find a spray-on product works best, and a little goes a long way. Just spray it on and wipe it down with a microfiber cloth. Voila! It looks brand new.
Just be careful not to apply too much, as it can sometimes create a glossy, slippery surface, especially on your steering wheel!
Cleaning the Windows
Windows finishing touches can make a major impact. I recommend cleaning the insides and outsides for that crystal-clear vision. A glass cleaner and a microfiber cloth are my go-to combo.
I approach it by spraying the cleaner on the cloth instead of directly on the glass to avoid overspray. Work in a circular motion until you see the shine. It’s amazing how much brighter the inside feels with clean windows!
And don’t forget about your mirrors! They also need some love. A clear reflection makes every drive that much safer.
Final Inspection and Maintenance Tips
Before wrapping up, always do a final walkthrough of your car to ensure you didn’t miss anything. I often take a quick look while taking a small victory lap around the car. It’s rewarding to see all the hard work pay off—trust me!
Additionally, developing a regular maintenance routine can keep your car looking new. Maybe aim to do a quick clean every few weeks and a more thorough detail every couple of months. Trust me, it will save you time and money in the long run!
Your ride will reward you with a sense of pride every time you hop in. Plus, you’ll likely get compliments from friends and family. Who doesn’t love showing off their well-kept vehicle?
Step 5: Protecting Your Investment
Regular Maintenance Schedule
Protecting your investment means setting a regular maintenance schedule. I recommend mapping out a plan for detailing your car, whether it’s bi-weekly for the inside and monthly for the outside. It can be as simple as a quick vacuum or a wash, but consistency is key to keeping your car looking fresh and new!
Mark your calendar; it’s a small commitment that yields amazing results. An organized schedule not only helps keep the car clean but also prolongs its lifespan, allowing you to enjoy your ride for years to come.
And hey, if you keep it up, you might find it takes way less time each session because you’ll maintain that clean state. It’s a win-win!
Using Protective Coatings
If you’re serious about protection, consider investing in a protective coating for both your paint and interior. There are options like ceramic coatings that add additional shine and protect against UV rays, dirt, and stains. I’ve seen cars with ceramic coatings that look almost showroom-ready years later!
Your seats can also benefit from fabric protectants. They repel spills and stains better, making maintenance a breeze. A simple spray can save you headaches in the future, especially if you have kids or pets!
A protective coating might seem a little pricey upfront, but think about the long-term savings! Less frequent detailing and increased resale value make for a solid investment.
Storing Your Car Properly
Lastly, knowing how to store your car properly can extend its life significantly. If you have the option, keep it in a garage or under a car cover. UV rays and harsh weather can wreak havoc on both the exterior and interior, leading to fading and damage over time.
If you can’t garage it, consider using a car cover to protect against the elements. It might feel tedious, but I promise it’ll save you from future detailing sessions that turn into major repairs!
Also, avoid parking under trees if you can help it. Bird droppings, sap, and falling leaves can be a nightmare for your paint job. Treat your car like the treasure it is!
Frequently Asked Questions
1. Can I use household cleaners for car detailing?
While some household cleaners might work, it’s best to use products specifically designed for car detailing as they’re formulated to be safe for automotive surfaces and finishes.
2. How often should I detail my car?
It generally depends on your driving habits, but a good rule of thumb is to thoroughly detail your car every 3-6 months, with regular maintenance in between.
3. Are clay bars necessary for a DIY detailing job?
Clay bars are not strictly necessary, but they effectively remove contaminants that regular washing can’t handle. They can significantly improve the shine of your paint if used properly!
4. What’s the best way to remove stains from fabric seats?
For fabric seats, use a designated upholstery cleaner. Blot the stain with a cloth first, then apply the cleaner and scrub gently until the stain lifts. Always test in a hidden area first!
5. How can I protect my car’s paint?
Applying a quality wax or using a ceramic coating can provide substantial protection against UV rays, road grime, and everyday wear and tear. Regularly washing your car will also help maintain its protective barrier.